Your cart is empty
Looks like you haven't added anything to your cart yet


How to Make a Reusable Silicone Candle Mold Using PCTG and 3D Printing
Candle making becomes a lot more creative when you can design your own molds — and with the help of 3D printing and silicone casting, you can produce professional-quality results right from home or your workshop.
In this guide, we’ll walk you through how we made a reusable silicone candle mold using Filaments Depot PCTG for the outer mold shell and binder clips to hold everything in place. The final result? A beautiful female torso candle with smooth details and no major seam lines.
Why Use Filaments Depot PCTG for Mold-Making?
While PLA and PETG are popular filaments for general-purpose 3D printing, Filaments Depot PCTG stands out when it comes to functional applications like mold shells. Here's why we chose it:
-
Higher heat resistance than PLA or PETG
-
Toughness and durability to withstand repeated use
-
Smooth print quality with minimal warping
-
Chemical resistance, making it more compatible with curing silicone
PCTG bridges the gap between ease of printing and material performance, which makes it ideal for reusable mold shells that need to hold their shape during silicone casting.
Materials & Tools Used
-
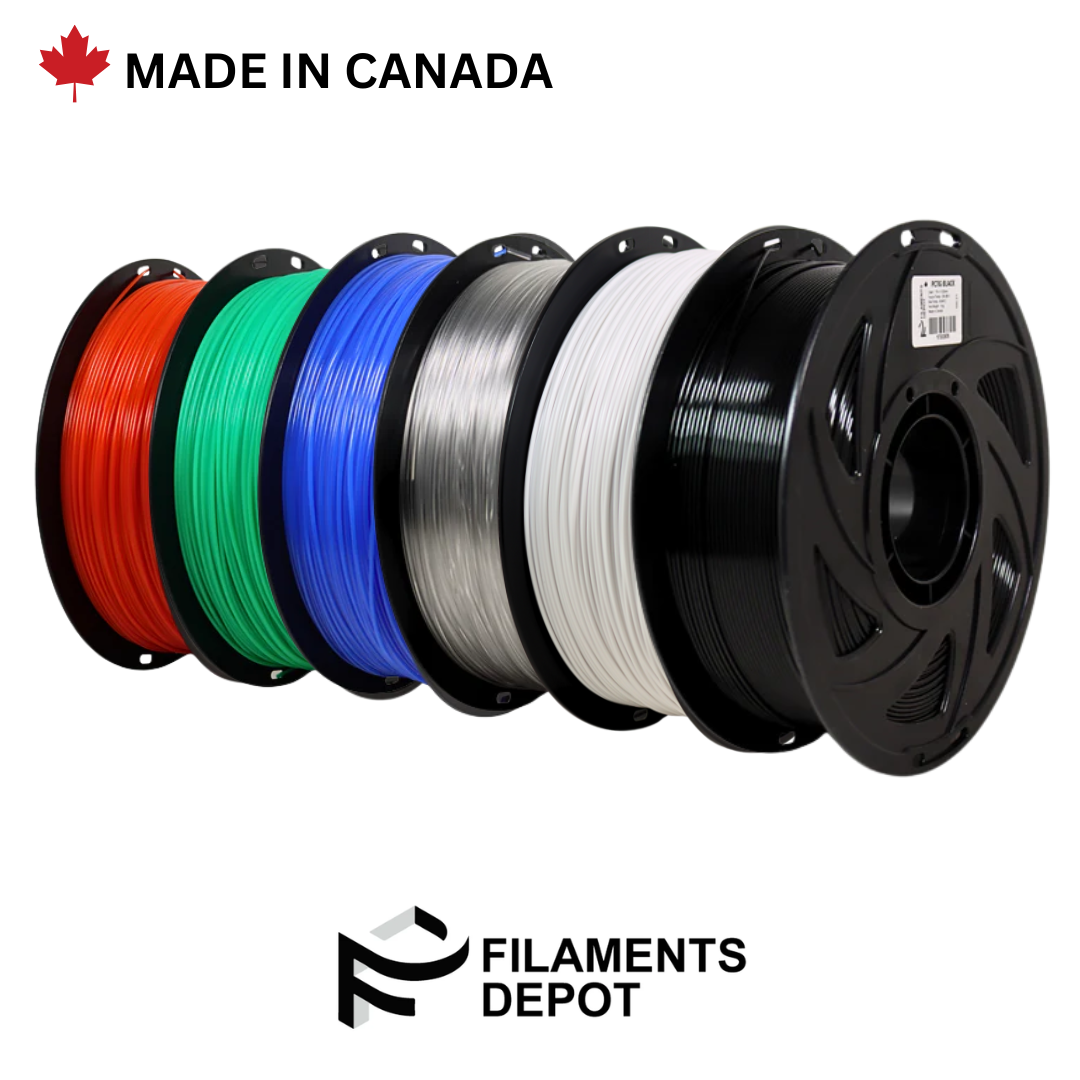
Orange Filaments Depot PCTG filament (for the shell)
-
Green Filaments Depot PLA or PCTG (for the mold base)
-
Silicone rubber (two-part, pourable)
-
Female torso candle model (master)
-
Binder clips (to hold the shell together)
-
3D printer with hardened nozzle (recommended for PCTG)
-
Silicone funnel or syringe
-
Mold release agent (optional)
Step-by-Step Process
1. Design the Mold Shell

We started by designing a cylindrical outer mold shell in CAD software. It includes:
-
A tight-fitting two-part body
-
Two aligned pour holes at the top — one for silicone, and one for air escape
-
A slot at the bottom to seat a removable base (for easy demolding)
This design ensures both functionality and reusability.
2. 3D Print the Mold Shell
We printed the two main shell parts using Filaments Depot PCTG orange filament, and the base in green filament (also PCTG or PLA). The shell needs to be sturdy, so we recommend:
-
Wall thickness: 2 mm or more
-
Infill: At least 20–30%
-
Nozzle temp: ~250°C
-
Bed temp: ~80°C
-
Enclosure: Ideal, but not mandatory for small parts
Once printed, everything fits together with alignment keys and binder clips.
3. Place the Master Inside

We printed or purchased a female torso master model and placed it inside the cylindrical shell. The master was positioned upright on the removable green base, centered within the mold cavity.
4. Pour the Silicone
We used a two-part pourable silicone rubber, mixed and degassed as per the manufacturer’s instructions. Then we poured it into the shell using one of the holes at the top while leaving the other open for trapped air to escape.
✅ Pro tip: Pour slowly and from a height to avoid bubbles around the master.
5. Secure with Binder Clips
Before pouring, we clipped the two shell halves together using standard metal binder clips. This method:
-
Holds everything firmly during silicone curing
-
Makes it easy to open the mold later without damage
-
Keeps the shape uniform for consistent results
6. Demold and Test
After the silicone fully cured, we unclipped the shell, popped off the green base, and gently removed the silicone mold. It came out clean and detailed, perfectly replicating the original model.
We then poured wax into the new silicone mold and successfully created a sleek black torso candle — with minimal seam lines and a professional finish.
Final Thoughts
By combining the strength and printability of Filaments Depot PCTG with silicone casting, you can create custom candle molds that are durable, reusable, and tailored to your designs. The two-hole system for pouring and venting silicone ensures a cleaner fill, and binder clips make the mold easy to secure and reuse.
This hybrid approach bridges the worlds of 3D printing and traditional mold-making — perfect for hobbyists, small-batch candle makers, or anyone looking to push creative boundaries.
- Choosing a selection results in a full page refresh.
2 comments
Rene Garcia
what 3D printer & nozzle did yall use. Also the photos don’t show on my end is there a video tutorial link for this ?
Thanks !
Rene Garcia
what 3D printer & nozzle did yall use. Also the photos don’t show on my end is there a video tutorial link for this ?
Thanks !